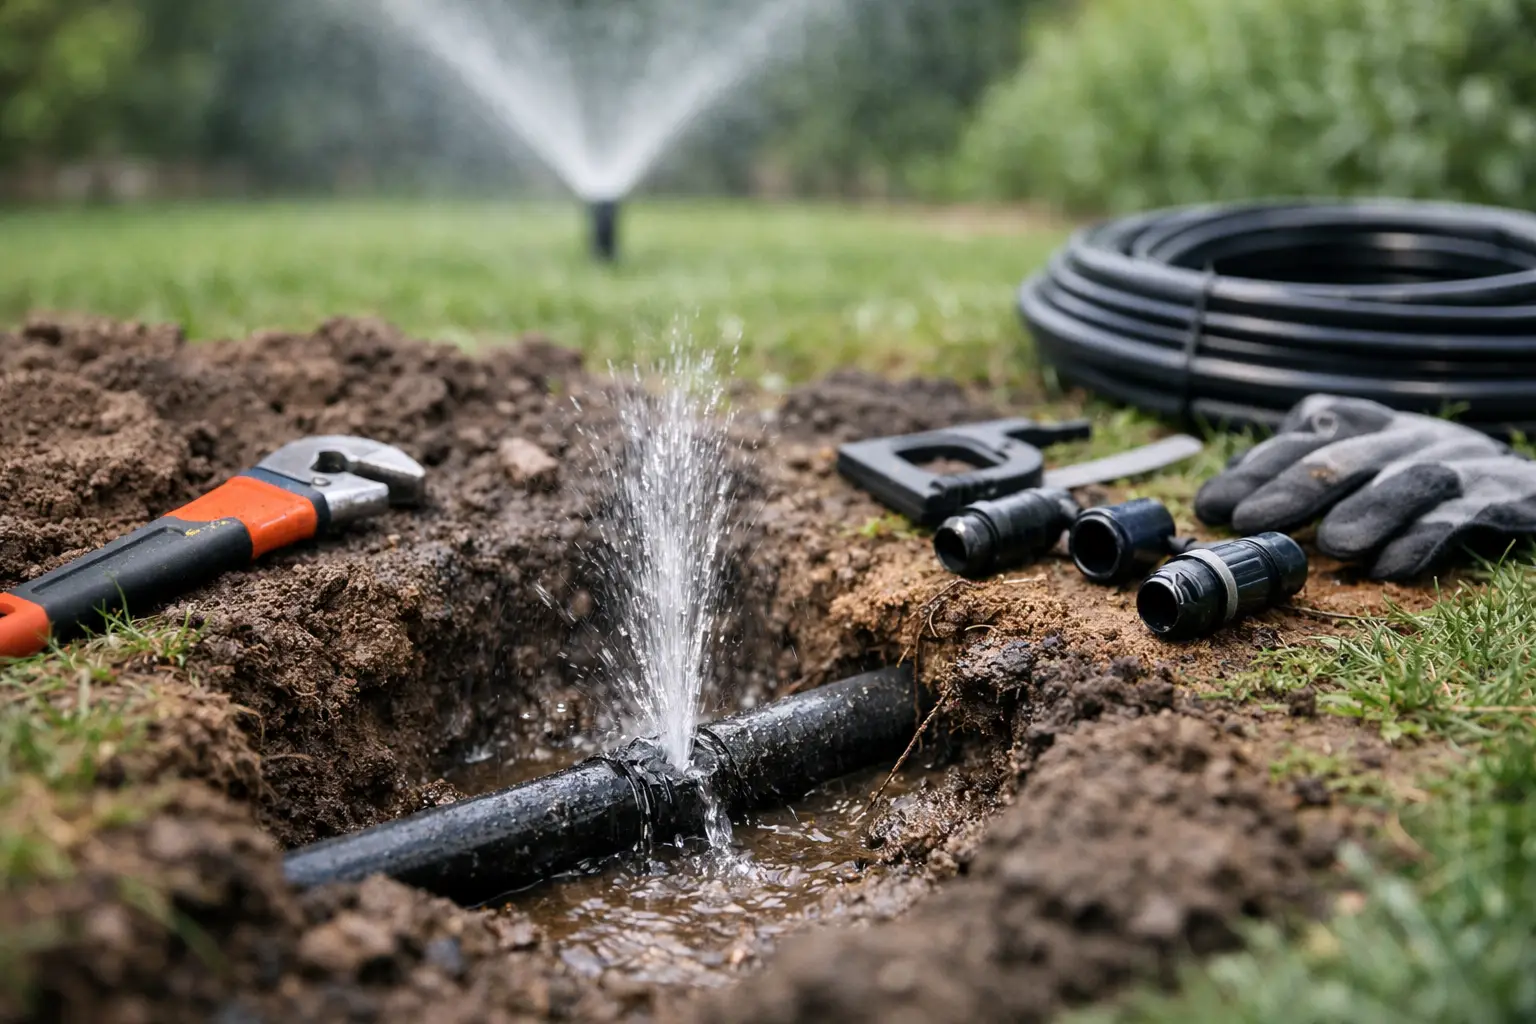
A sprinkler line break rarely announces itself politely. You may see a soft, soggy patch in an otherwise dry lawn, water bubbling from a planting bed, or a zone that suddenly has weak pressure. If you are asking, “how do I fix a broken sprinkler line?” start by stopping the water and confirming what failed before you begin digging. A careful repair protects the lawn, avoids wasted water, and gives the repaired area a better chance of lasting through Colorado’s changing seasons.
Stop the water before you investigate
Turn off the irrigation system at the controller, then shut off the irrigation supply valve if you can access it. The controller prevents that zone from running on schedule, but the supply valve is the better safeguard while you work on a damaged line.
If water continues to move through the area after the controller is off, a valve may be stuck open or the break may be on a mainline that stays pressurized. Do not dig around a pressurized leak. Shut off the water supply to the irrigation system and allow the area to drain before exposing the pipe.
A visible wet spot does not always identify the exact break. Water travels through loose soil, along trench lines, and downhill. The actual crack or separated fitting may be several feet away from the place where water reaches the surface.
Find the damaged sprinkler line
Run the affected zone briefly only after the area is safe to inspect. Look for pooling water, a pronounced spray from the ground, unusually green grass, or sprinklers that barely pop up because pressure is escaping underground. Mark the likely area, turn the water back off, and wait a few minutes for the soil to settle.
Dig by hand around the suspected leak. Start wider than the wettest point and remove soil carefully with a hand trowel or shovel. Utility lines, low-voltage landscape lighting wire, sprinkler control wire, and drip tubing may share the same area. A shovel can turn a small pipe repair into a larger one if it cuts through wiring or another section of pipe.
Expose at least 6 to 8 inches of pipe on both sides of the damage. Clear enough room beneath the pipe to work with a cutter and install a fitting without forcing the line upward. Keep excavated soil on a tarp or in a wheelbarrow so rocks and clumps do not end up mixed into the repaired trench.
Identify the pipe before choosing a repair
The right repair depends on the pipe material and the cause of the failure. Residential irrigation systems commonly use white or gray PVC pipe, flexible black polyethylene pipe, or swing pipe near sprinkler heads. PVC is rigid and usually repaired with PVC couplings and solvent cement. Poly pipe is flexible and typically requires barbed insert fittings with clamps. Swing pipe uses specialized threaded fittings.
A broken sprinkler line can be a clean crack, a split caused by freezing, a puncture from edging or digging, or a failed fitting. If a pipe has cracked in more than one place, look beyond the obvious damage. Frozen water, poor winterization, shifting soil, vehicle traffic, roots, or improper installation can create a recurring problem.
Do not use a PVC repair fitting on poly pipe, or attempt to glue a flexible poly line. It may seem secure at first, but it is unlikely to hold under pressure. Matching the material and diameter is what turns a quick patch into a dependable repair.
Gather the right tools and materials
Once the pipe is exposed and identified, gather materials that match the existing line. For most straightforward repairs, you will need:
- A pipe cutter or fine-tooth saw
- Replacement pipe of the same type and diameter
- Appropriate couplings or repair fittings
- PVC primer and cement for PVC repairs, or stainless steel clamps for poly repairs
- A tape measure, marker, clean rag, and hand tools
For PVC, a telescoping repair coupling can be useful when there is little room to flex the pipe. For poly, use insert couplings designed for irrigation and place clamps over the pipe ends before inserting the fitting. Avoid makeshift tape repairs. They may slow a leak temporarily, but they do not provide the secure, pressure-rated connection an underground line needs.
How to fix a broken sprinkler line step by step
Cut out the damaged section
Cut out the cracked, crushed, or punctured portion of pipe. Make straight, clean cuts and remove enough material that both remaining pipe ends are sound. A small crack can extend farther than it first appears, especially on PVC that has been stressed by freezing.
Measure the removed section and cut replacement pipe to fit. Test the fit dry before applying any cement or tightening clamps. The pipe should align naturally. If you have to bend rigid PVC aggressively to make it fit, the repair will be under stress and may fail later.
Repair a PVC sprinkler line
Dry the pipe ends completely and wipe away dirt. Apply primer if required for the product and pipe condition, then apply PVC cement to the outside of the pipe and the inside of each fitting socket. Push the pieces together fully, give the fitting a slight twist, and hold it briefly so it does not push back out.
Follow the cement manufacturer’s cure guidance before restoring water pressure. Cure time changes with temperature, pipe size, and moisture. In cool Colorado weather, giving the repair additional time is usually the safer choice.
Repair a poly sprinkler line
Slide clamps onto both pipe ends before inserting the barbed coupling. Warm, flexible poly pipe may slide on easily. If conditions are cold and the pipe is stiff, carefully warming the pipe end with hot water can help. Do not use an open flame.
Push each pipe end fully over the barbs, position the clamps behind the barbed section, and tighten them securely. Do not overtighten to the point that the clamp damages the pipe. The connection should be straight and fully seated, with no visible gap between the pipe and fitting shoulder.
Test the repair before backfilling
Turn on the affected zone and watch the repair while it is still exposed. Check for drips, misting, movement at the coupling, and normal sprinkler pressure throughout the zone. Let it run long enough to confirm that the repair holds under operating pressure.
If the repair is dry, turn the zone off and backfill in layers. Place fine, rock-free soil around the pipe first, then gently firm it by hand. Do not drop large rocks directly onto the line. Restore the remaining soil, level the lawn or bed, and replace sod or mulch as needed.
A repaired line can still reveal another issue. Low pressure after a successful repair may point to a second leak, a clogged nozzle, a valve problem, or a zone that was not designed for its current demand.
When a sprinkler repair is better handled by a professional
A homeowner can often repair one accessible, isolated break. It makes sense to call an irrigation professional when the leak is near a valve box, crosses beneath hardscape, involves a pressurized mainline, has damaged control wiring, or keeps returning in the same area. These situations require more diagnosis than replacing a short section of pipe.
Professional inspection is also worthwhile when the cause is uncertain. A repair that addresses only the visible crack may not solve pressure issues, drainage concerns, poor pipe depth, or winter damage elsewhere in the system. For homeowners in Parker and nearby communities, freeze-thaw cycles and dry, shifting soil make proper pipe support and seasonal irrigation care especially valuable.
Help prevent the next broken line
Keep irrigation components protected from mower scalping, edging tools, and vehicle traffic. Mark sprinkler heads before aerating or landscape work, and avoid deep digging near known irrigation routes. In fall, have the system properly winterized so trapped water does not freeze and expand inside vulnerable pipes and fittings.
During the growing season, inspect each zone regularly. Catching a weak sprinkler, damp spot, or unexplained increase in run time early can prevent erosion, plant stress, and a larger repair. A sound irrigation system should deliver water where it belongs, support healthy landscaping, and stay out of sight while it does its job.
If the repair feels uncertain, leaving the trench open and having it evaluated is often the wiser move. A properly diagnosed sprinkler repair protects the landscape you have worked hard to maintain.