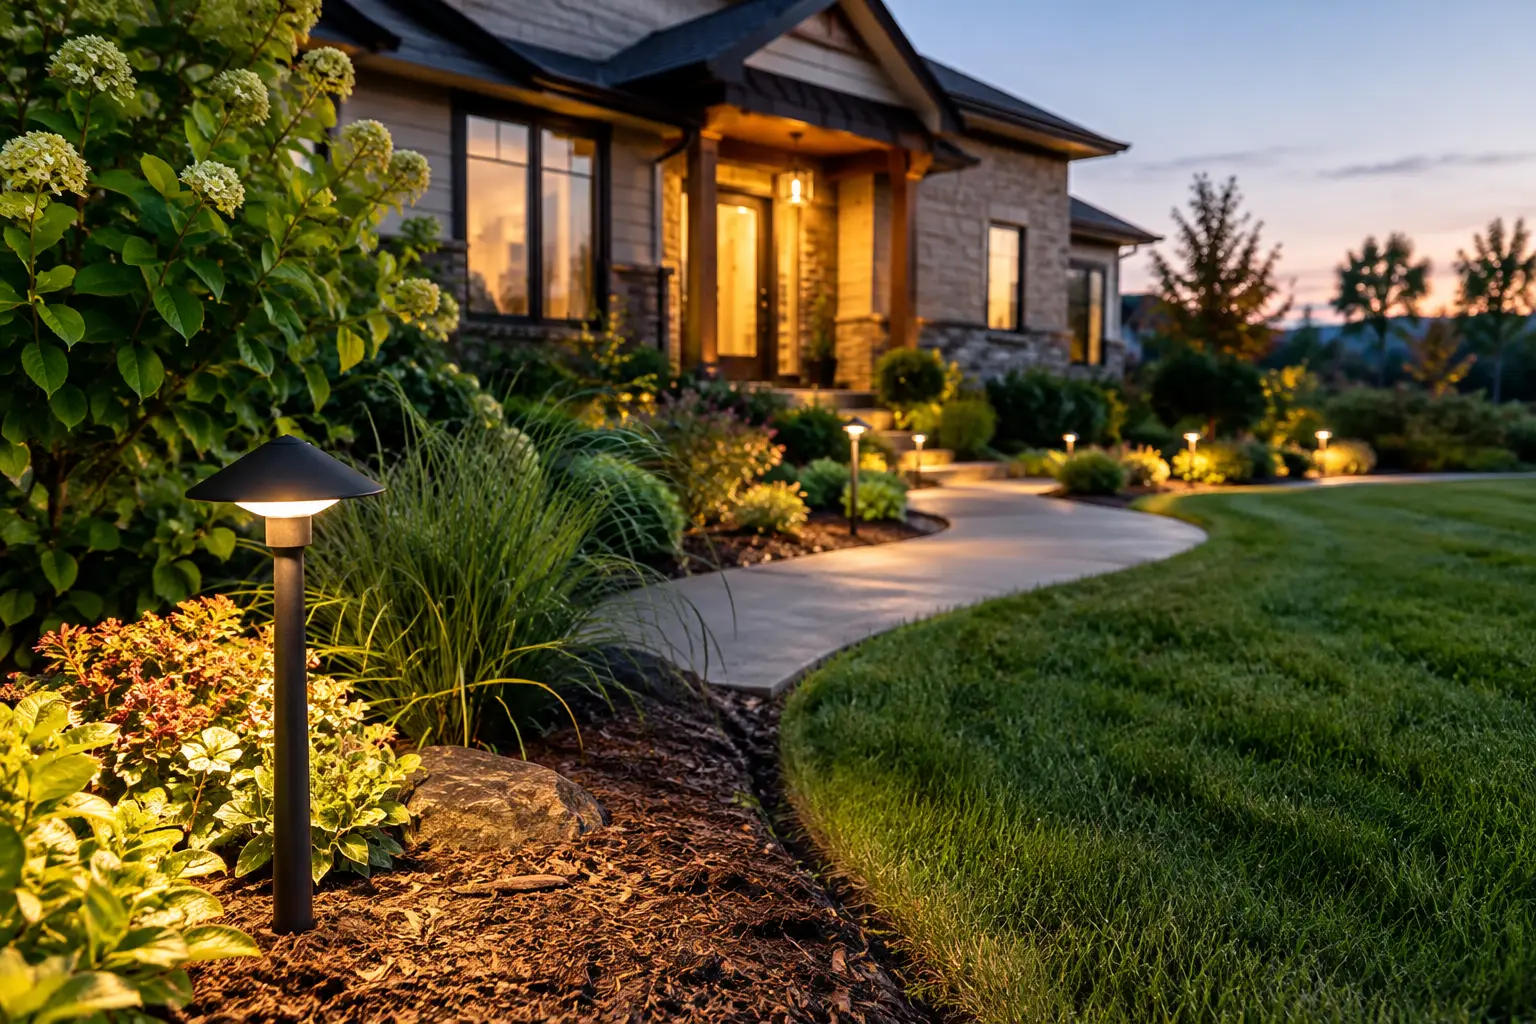
A well-lit front walk should help guests find the door without seeing the fixture glare from the street. A softly illuminated patio should feel usable after sunset, not like a stadium. Those details are the difference between lighting that adds value to a property and lighting that simply adds brightness.
Knowing how to choose landscape lighting starts with the way you want to use your property after dark. The best plan balances safety, curb appeal, comfort, and durability. It also respects the landscape itself, highlighting the features worth seeing while keeping light where it belongs.
Start With the Purpose of Each Area
Landscape lighting works best when every fixture has a job. Before selecting styles or finishes, walk the property at dusk and identify the places that need attention. A front entry may need better visibility for arriving guests. A side yard may need safer passage to a gate. A patio, deck, or outdoor kitchen may need gentle ambient light for evenings outside.
Safety is usually the first priority. Steps, grade changes, walkways, driveway edges, and transitions between hardscape surfaces deserve clear, even illumination. The goal is not to eliminate every shadow. It is to make changes in elevation and direction easy to see without creating harsh pools of light.
Then consider visual impact. A mature tree, stone retaining wall, ornamental grass, water feature, or architectural detail can become a focal point after sunset. Limit these accent areas to the features that genuinely improve the view. Trying to light everything often makes a landscape look flat and overdesigned.
How to Choose Landscape Lighting by Layer
A professional lighting design uses layers rather than one fixture type throughout the yard. Each layer supports a different purpose, and together they create a natural, comfortable result.
Path and Step Lighting
Path lights guide movement along walkways, garden paths, and driveway borders. They should be spaced to create a consistent visual route, not placed so closely that the path resembles a runway. Fixtures should direct light downward and shield the light source from direct view.
For stairs and retaining walls, compact step lights are often more effective than tall fixtures. They illuminate the tread or walking surface while preserving sightlines across the yard. This is particularly useful around patios, raised garden areas, and hardscape features.
Accent and Uplighting
Uplights bring depth to a landscape by drawing attention to trees, textured walls, columns, and focal-point plantings. The beam spread matters as much as the fixture itself. A narrow beam can emphasize a tall spruce or architectural column, while a wider beam may better suit a broad canopy or stone wall.
Use restraint with uplighting. One carefully aimed fixture can produce a stronger result than several fixtures pointed at the same feature. Avoid aiming beams toward bedroom windows, neighboring homes, or areas where people sit and relax.
Downlighting and Area Lighting
Downlighting creates a softer, more natural effect. Mounted in trees, pergolas, rooflines, or other appropriate structures, it can provide gentle illumination over seating areas, lawn edges, and paths. It is especially useful where overhead light is needed without installing a visible pole fixture.
Patios and gathering spaces may also benefit from low-glare area lighting. The right choice depends on the space. A dining area needs enough light to see food and steps, while a fire pit or lounge area generally feels better with a lower level of light.
Choose Fixtures Built for Colorado Conditions
Colorado weather asks a lot of outdoor equipment. Fixtures must handle intense sun, temperature swings, wind, snow, irrigation overspray, and occasional hail. A fixture that looks good on installation day but corrodes, fades, or shifts after a few seasons does not protect the long-term appearance of the property.
Metal quality matters. Brass and copper fixtures develop a natural patina over time and are well suited for many landscape applications. Powder-coated aluminum can also perform well when it is made for outdoor use and installed correctly. Lightweight plastic fixtures may be tempting for temporary needs, but they are more likely to crack, discolor, or become brittle in changing weather.
Look for sealed, weather-rated components and durable lenses. In-ground fixtures need special attention because they are exposed to moisture, debris, and lawn equipment. Proper drainage and placement are essential, even with a fixture designed for wet locations.
The installation details matter just as much as the fixture material. Secure mounting, protected wiring, stable connections, and correct fixture placement prevent many of the problems homeowners see later, including flickering, leaning fixtures, exposed wire, and uneven lighting.
Select the Right Light Color and Brightness
For most residential landscapes, warm white light creates the most inviting look. Light in the 2700K to 3000K range tends to complement stone, brick, wood, and plant material while making outdoor living spaces feel comfortable. Cooler light can appear stark or bluish, especially against warm-toned Colorado homes and natural landscapes.
Brightness should match the task. A front path, for example, needs enough light for safe footing but not enough to cast strong shadows across the lawn. Accent lighting should reveal texture and shape without washing out the feature being highlighted.
More lumens do not automatically mean better lighting. Excessively bright fixtures can create glare, reduce visibility beyond the bright area, disturb neighbors, and make a landscape less relaxing. If a fixture feels too bright, changing the beam angle, location, shielding, or output may solve the issue more effectively than adding more fixtures elsewhere.
Plan the System, Not Just Individual Fixtures
A reliable landscape lighting system includes more than fixtures. It needs a properly sized transformer, thoughtfully routed low-voltage wiring, weather-protected connections, and controls that fit the homeowner's routine.
Low-voltage lighting is a strong choice for most residential properties because it is adaptable, energy-efficient, and appropriate for landscape applications when professionally installed. The transformer must have enough capacity for the current lighting plan and reasonable room for future additions. Undersized equipment can lead to dim fixtures, uneven performance, and unnecessary strain on the system.
Wiring runs also affect performance. Long runs, poor connections, and incorrect wire sizing can cause voltage drop, leaving distant fixtures noticeably dimmer than those closer to the transformer. A good design accounts for load distribution from the beginning.
Controls should make the system easy to use. Timers and photocells provide dependable daily operation, while smart controls can offer scheduling adjustments and remote access. The right option depends on how hands-on you want to be. Simpler controls are often the best fit when they reliably turn the lights on at dusk and off at the desired time.
Protect the Landscape During Installation
Lighting should improve the property without compromising irrigation, roots, plant health, or future maintenance. Before trenching or placing fixtures, locate irrigation lines, valve boxes, drainage components, and utility markings. This is especially important in established landscapes where hidden systems may run close to walkways and planting beds.
Fixture locations should also account for plant growth. A small shrub may not block a path light today, but it could cover the fixture in two seasons. Trees grow, perennials fill in, and seasonal maintenance changes the view of the yard. Leave enough access for pruning, mowing, mulch work, irrigation adjustments, and snow removal.
For homeowners in Parker, Castle Rock, Highlands Ranch, and nearby communities, thoughtful placement is also helpful during winter. Lighting around primary walks, entries, and steps supports safer movement during darker evenings and snowy conditions. Fixtures should be positioned where shovels, plows, and piled snow are less likely to damage them.
Avoid the Most Common Lighting Mistakes
The most frequent mistake is overlighting. When every bed edge, tree, and wall receives the same attention, the property loses contrast and feels less refined. Focus on the areas people use and the features that give the home character.
Another issue is glare. A visible bulb can be distracting even when the fixture is technically providing useful light. Choose shielded fixtures, aim beams carefully, and view the system from key places: the street, the front door, interior windows, the patio, and a neighbor's property line.
Finally, do not treat lighting as separate from the rest of the landscape. Irrigation patterns, drainage routes, mature plantings, hardscape layouts, and maintenance needs all influence the best fixture locations. A coordinated outdoor plan produces cleaner results and fewer future repairs.
The right landscape lighting lets your home feel safer, more welcoming, and more usable without calling attention to itself. Start with the places that matter most after sunset, choose durable equipment, and let the lighting support the landscape you have worked hard to maintain.