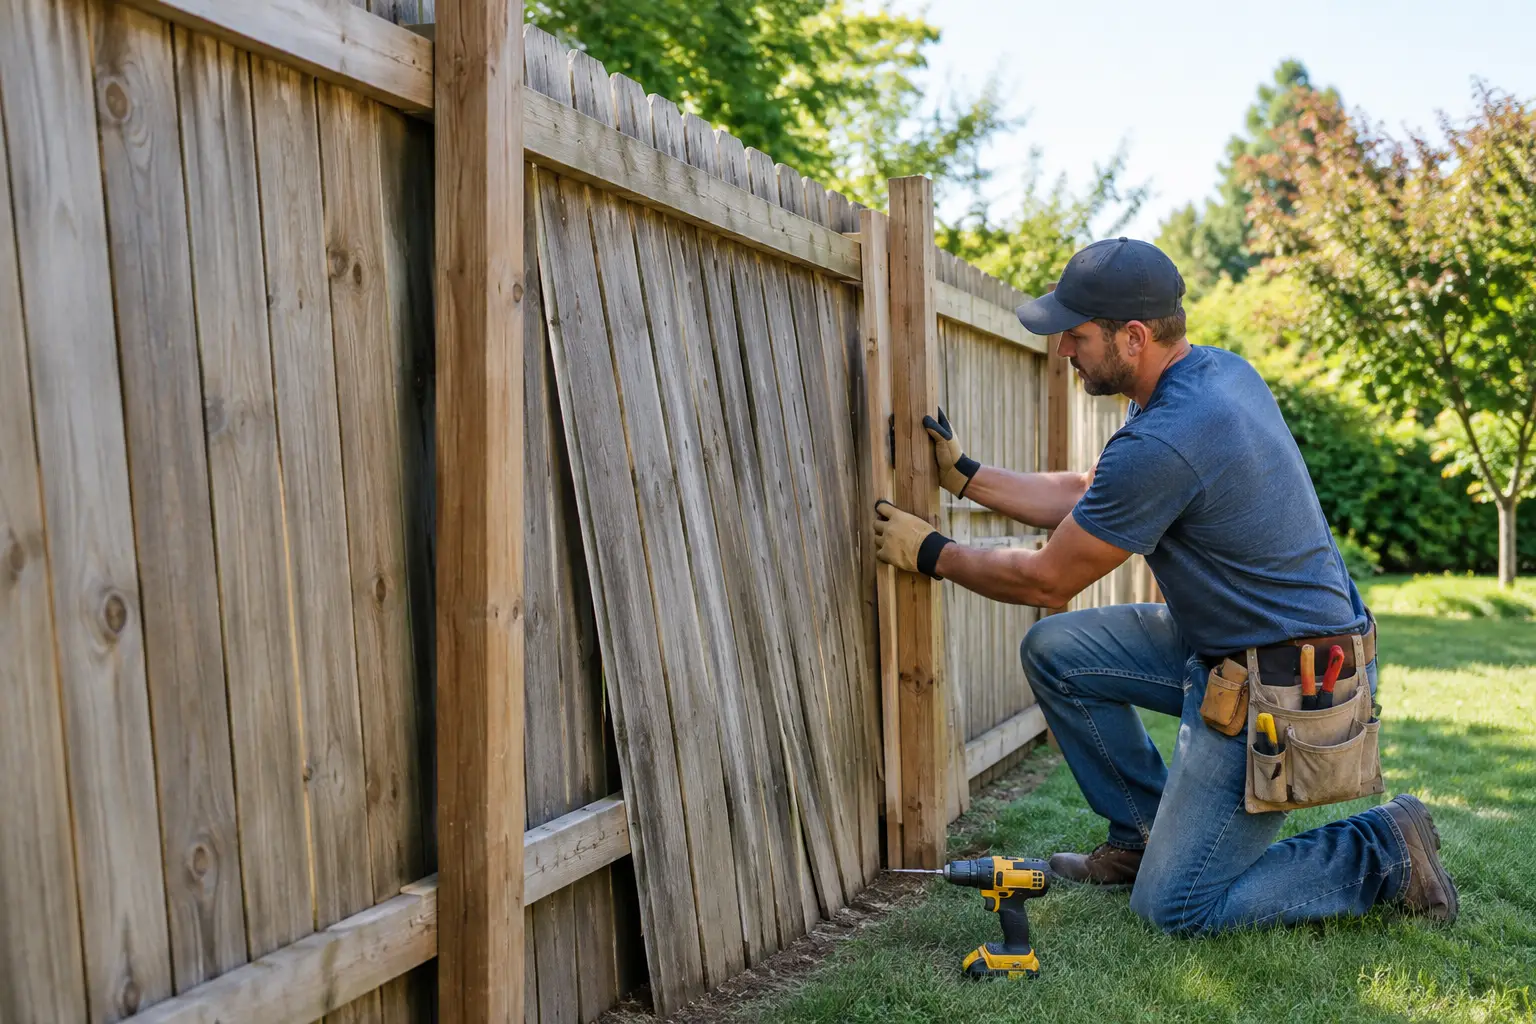
A fence rarely starts leaning without a reason. One post may shift after a wet spring, loosen through repeated freeze-thaw cycles, or begin failing because irrigation runoff keeps the soil saturated. Knowing how to repair a leaning fence starts with identifying that reason. Straightening the panels without fixing the post, footing, or drainage issue usually means the fence will lean again.
For homeowners in Parker and surrounding Colorado communities, soil movement, heavy snow, wind, and dry conditions followed by sudden moisture can all affect fence stability. A lasting repair should restore the fence’s appearance while addressing what caused the movement below ground.
Find Out Why the Fence Is Leaning
Walk the full fence line before picking up a tool. A lean isolated to one section often points to one or two failing posts. If the whole fence runs at an angle, the issue may be broader - poor original installation, shifting soil, inadequate post depth, or a slope that needs better drainage control.
Look closely at the base of each post. Soft, dark, cracked, or splintered wood may indicate rot. A post that moves easily when pushed may have a failed concrete footing or soil that has washed away around it. Metal posts can bend, rust near grade, or pull loose from their anchors.
Also inspect the fence rails and panels. Sometimes the post is sound, but broken rails, missing fasteners, or warped boards make the section appear to sag or lean. This repair is usually simpler, but it still pays to check whether the load from a damaged gate or overgrown vegetation is pulling on the fence.
Water is often part of the story. Downspouts that discharge beside a fence, low spots in the lawn, leaking irrigation heads, and soil that stays wet after a storm can weaken the ground around posts. Before resetting a fence, correct the water source whenever possible. Otherwise, even a well-installed replacement post can shift prematurely.
How to Repair a Leaning Fence Based on the Damage
The right repair depends on whether the post is loose, broken, rotted, or simply supporting a damaged section. There is no benefit to replacing sound materials, but trying to brace a post that has rotted below grade is usually a short-term fix at best.
Brace a post that is still structurally sound
If a wood post is solid and the lean is minor, a temporary brace can hold it in position while you stabilize the base. Remove soil from the side opposite the lean, then carefully push or pull the post back to plumb. A level placed against two adjacent sides of the post will confirm it is straight in both directions.
Set a sturdy temporary brace from the post to a stake driven into the ground. Once the post is held in position, add compacted gravel and soil around the base if the original footing remains secure but the surrounding soil has loosened. For a more dependable repair, expose the existing footing and reinforce it with new concrete only if the post itself is still in good condition.
This approach works best for slight movement caught early. It is not a reliable option when the footing has cracked apart, the post moves freely, or the wood has decay near ground level.
Replace a rotted, cracked, or badly shifted post
A damaged fence post should be replaced rather than covered up with a brace. Start by removing the fence panels or rails connected to that post. Mark their original locations so the fence can be reassembled at the proper height and alignment.
Dig around the old post and remove it along with as much of the failed footing as possible. This can be physical work, especially where old concrete is substantial. Take care around irrigation lines, low-voltage landscape lighting wire, and buried utilities. If you do not know what is below the digging area, have utility locations identified before excavation.
The replacement post must be appropriate for ground contact. Use a pressure-treated wood post rated for in-ground use, or choose a compatible metal post system designed for your fence style. Set the new post deep enough for local conditions. In Colorado, posts generally need to extend below the frost line to reduce movement from freeze-thaw cycles. The necessary depth can vary by site, soil conditions, and municipality.
Add several inches of compacted gravel at the bottom of the hole to support drainage. Position the post, check it with a level, and brace it securely before placing concrete. Keep the post plumb while the concrete sets. Shape the top of the concrete so it slopes away from the post rather than creating a shallow bowl that holds water against the wood.
After the footing has cured sufficiently, reconnect the rails and panels. Check that pickets remain level or follow the intended grade consistently. A post may be perfectly plumb, but the finished fence can still look uneven if the rails are reattached without checking their alignment.
Repair a fence pulled out of line by a gate
A sagging or heavy gate can pull a nearby post forward over time. If the leaning post supports a gate, inspect the hinges, latch, frame, and diagonal bracing before replacing the post. A gate that drags on the ground or slams in the wind places constant stress on its support.
Repair or reinforce the gate frame, adjust the hinges, and make sure the latch engages without forcing the gate into position. In some cases, a dedicated steel gate post or additional support is the most durable answer. This is especially true for wide gates, privacy gates exposed to wind, or gates installed on sloped ground.
Protect the Repair From Water and Soil Movement
A straight fence will stay straight longer when the surrounding landscape handles water properly. Grade soil so water flows away from the fence line rather than pooling beside posts. Avoid piling mulch, rock, or soil against the bottom of wood fence boards. That trapped moisture speeds up decay and hides early signs of damage.
Check sprinkler coverage as well. Sprinkler heads should water lawns and planting beds, not repeatedly soak the bottom of a fence. A misaligned head can leave a narrow, constantly wet strip of soil that weakens a post over time. Correcting irrigation overspray also helps protect the fence’s finish and reduces unnecessary water use.
If runoff naturally crosses the property near the fence, a simple grading adjustment may not be enough. A swale, drain, or carefully planned planting area can help direct water away while preserving the look of the yard. Drainage improvements should fit the property as a whole, particularly where patios, retaining walls, hardscape, and landscape beds meet the fence line.
When a Professional Repair Makes Sense
Many minor fence repairs are manageable for an experienced homeowner with the right tools. A professional assessment is worthwhile when several posts are leaning, the fence is near a retaining wall, the ground remains wet, or the repair involves a gate, slope, or buried irrigation system. These conditions often point to a site issue that goes beyond one damaged post.
Professional help can also prevent a common problem: replacing posts one at a time without correcting the fence line. A fence that has shifted across multiple sections may need to be reset and realigned as a system. That takes careful measurements, sound post placement, and an understanding of drainage and grade.
For outdoor properties where irrigation, landscaping, drainage, and fence conditions affect one another, Irrivive Outdoor Property Solutions can help homeowners identify the underlying conditions that put a fence at risk. A coordinated repair protects curb appeal without creating new problems elsewhere in the yard.
A leaning fence is easiest to fix while the movement is small. Address the post and the water around it early, and your fence can remain a strong, clean boundary instead of becoming the next repair waiting in the yard.