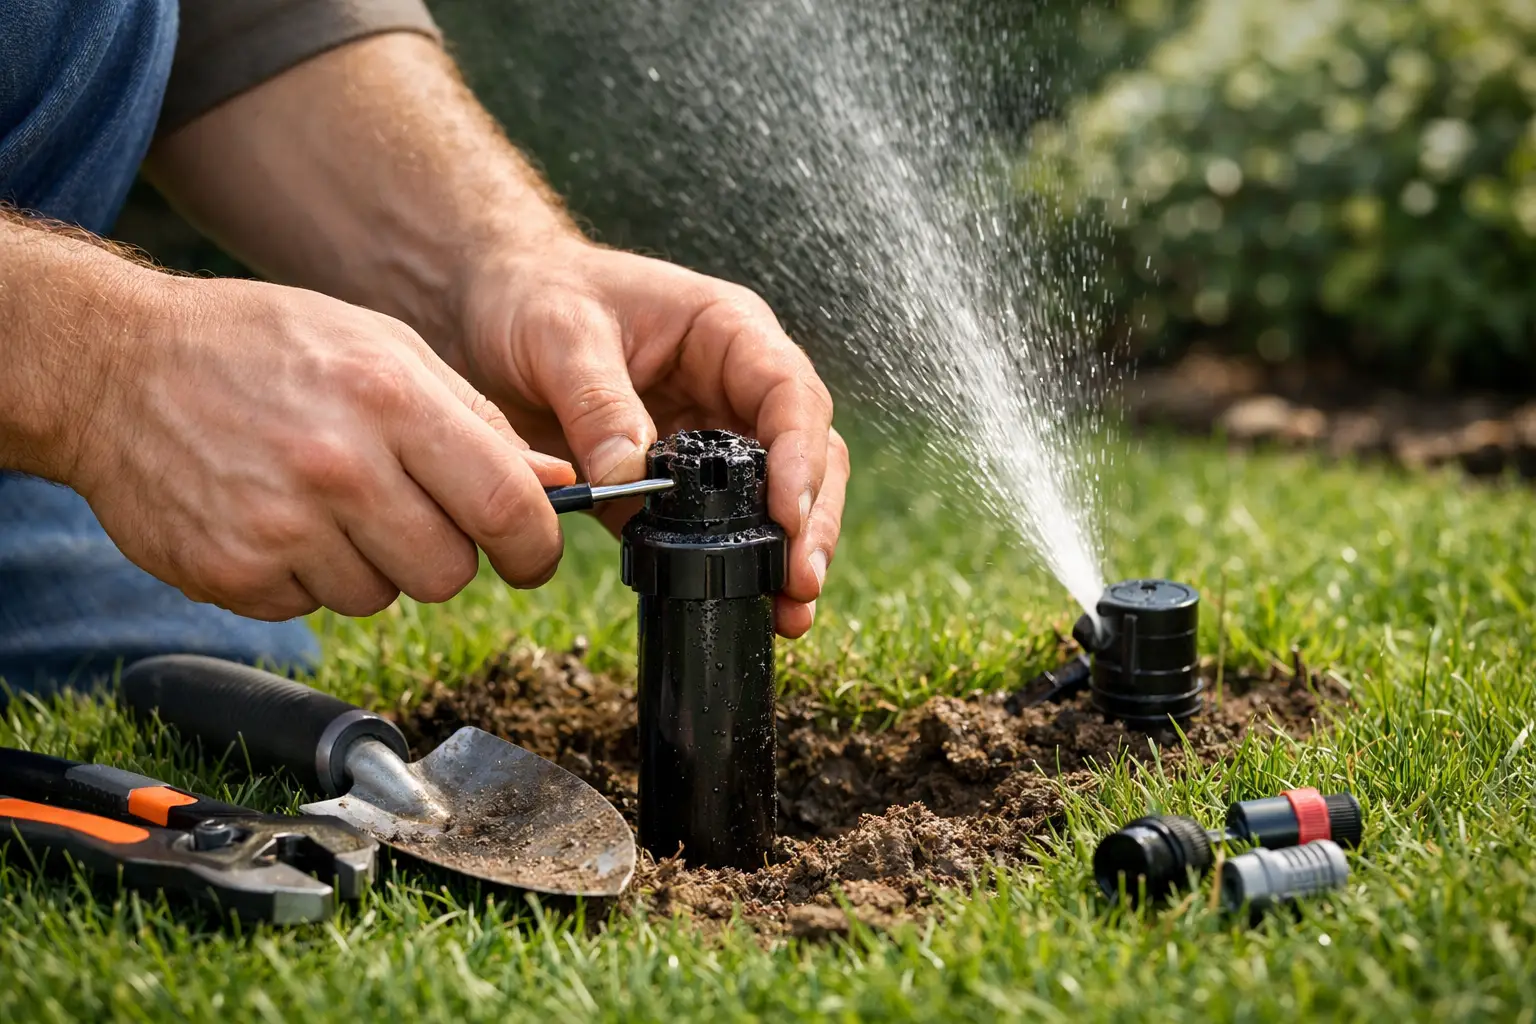
A sprinkler head that sprays the sidewalk, puddles around its base, or barely reaches the grass is more than a small annoyance. It can waste water, leave sections of turf stressed, and create a problem that becomes harder to spot as the lawn grows in. Knowing how to repair sprinkler head issues starts with identifying what failed before replacing parts. In many cases, the repair is straightforward. In others, the visible head is only the symptom of a damaged fitting, poor system pressure, or a seasonal freeze issue below ground.
Start by Identifying the Sprinkler Head Problem
Run the affected irrigation zone and watch the head for a full cycle. A properly operating spray head should rise above the surrounding soil or mulch, rotate or spray evenly as designed, and direct water onto the intended landscape area. A rotor should turn consistently and cover its assigned arc without skipping.
If the head does not pop up, the riser may be damaged, soil may be packed around it, or the internal mechanism may be worn out. If water bubbles up from the ground beside the head, suspect a cracked body, broken riser, or separated fitting. A weak spray across several heads usually points to a larger zone issue, such as a valve problem, leak, or pressure concern, rather than a single failed head.
Before digging, compare the problem head with nearby heads on the same zone. Check whether it is the correct type and set at the same height. This simple comparison often prevents a homeowner from replacing a head that only needs cleaning or adjustment.
How to Repair Sprinkler Head Damage Safely
Turn off the irrigation controller and shut off the water supply to the system before removing a sprinkler head. If your system has individual zone shutoffs, use the appropriate valve. This keeps the repair area manageable and avoids an unexpected spray of muddy water when the fitting is exposed.
Carefully remove sod, mulch, or soil around the head. Dig a wide enough area to work without forcing the pipe or fittings. In Parker and other Front Range communities, compacted clay soils and freeze-thaw movement can put added stress on shallow components. Pulling hard on a sprinkler head can turn a simple replacement into a broken lateral line repair.
Once the head and riser are exposed, inspect the full assembly. Most residential spray heads thread onto a short riser or swing joint. Unscrew the old head by turning it counterclockwise, keeping the riser as steady as possible. If the riser turns with the head, hold it gently with pliers or expose more of the fitting so it does not crack underground.
Install a replacement head that matches the existing system. Match the head style, nozzle type, spray pattern, and approximate precipitation rate whenever possible. Mixing a high-output nozzle beside lower-output heads can create dry spots in one area and overwatering in another. For rotors, choose a compatible model and nozzle rather than assuming any rotor will perform the same way.
Thread the new head on by hand first. It should be secure, but overtightening plastic threads can split the riser or strip the connection. Set the top of the head level with the finished soil or mulch grade. A head installed too low can become clogged or blocked by turf. One installed too high is more likely to be struck by a mower or tripped over.
Repairing a clogged nozzle
A clogged nozzle is one of the simplest repairs. Unscrew the nozzle or pull it according to the manufacturer design, then rinse away dirt, sand, and grass clippings. Do not enlarge the opening with a drill bit, nail, or anything that can alter the spray pattern. A soft brush, clean water, and the small filter beneath the nozzle are usually enough.
With the nozzle removed, briefly flush the line by running the zone for a few seconds. Keep clear of the opening, because debris can discharge quickly. Then reinstall the clean filter and nozzle, set the spray direction, and test coverage.
Repairing a broken riser or fitting
If the sprinkler head is loose, tilted, or leaking below the threads, the riser may be cracked. Remove the head and unscrew the damaged riser. Replace it with the same thread size and a height that positions the head at grade.
A broken elbow, swing joint, or pipe connection needs more care. The surrounding soil should be removed far enough to see the entire damaged component without bending the pipe. Replacement fittings must be compatible with the pipe material and installed squarely. If the connection is buried under roots, close to hardscape, or part of a tightly packed valve area, professional repair is often the better choice. A small leak underground can erode soil and weaken the surrounding landscape over time.
Adjust the Spray Pattern After the Repair
Replacing the head is only part of the job. Turn the zone back on and confirm that the repaired head delivers water where it belongs. Spray heads should generally direct water toward plants and lawn, not pavement, siding, fences, or driveways. This reduces runoff and helps the zone use water more efficiently.
For fixed spray heads, adjust the arc and direction at the nozzle. For rotors, use the adjustment port and the manufacturer-specific tool or key if needed. Make small adjustments while the zone runs, then watch the head complete its rotation. The goal is head-to-head coverage, meaning the spray from one head reaches the next head in the zone. That overlapping coverage helps avoid dry bands between sprinklers.
Also look for obstructions. Overgrown shrubs, dense perennials, and tall grass can block a sprinkler that worked well earlier in the season. Sometimes moving or trimming plant material is the right answer. In other cases, the irrigation layout needs an extension riser, a different nozzle, or a better-positioned head. Raising a head without considering the surrounding plants can make it more vulnerable to damage, so the best fix depends on the landscape.
Avoid the Most Common Repair Mistakes
The first mistake is replacing a sprinkler head without checking why it failed. A head repeatedly damaged by a mower may be set too high. A head repeatedly filled with debris may sit too low. A cracked fitting may indicate that the line was stressed by settlement, a vehicle crossing the area, or winter conditions.
The second is using the wrong nozzle. Nozzles are not interchangeable simply because they fit the same body. Their flow rate and pattern affect how much water a section receives. If one replacement throws farther or applies more water than neighboring heads, the system may lose its balance.
The third is burying the repair before testing it. Run the zone long enough to check for leaks around the riser, the new head, and any exposed fittings. Watch the water pattern from different angles. Only backfill when the connection is dry, stable, and correctly aligned.
Finally, avoid covering the head with loose soil or mulch. Backfill gradually and tamp gently around the body so it remains upright. Leave the cap visible at grade and clear away dirt before the next mowing or irrigation cycle.
When a Professional Irrigation Repair Makes Sense
A single clogged nozzle or damaged spray head is a reasonable homeowner repair. Call for irrigation service when multiple heads have weak pressure, a zone will not shut off, water is surfacing away from the head, or the repair involves a valve, wiring, or damaged lateral line. Those signs can point to problems that are not visible from the surface.
Colorado irrigation systems also need seasonal attention. Freeze damage can appear at the start of spring, while shifting soil and active roots may affect performance later in the year. A careful inspection protects more than the lawn. It helps preserve landscape beds, reduce water waste, and keep your property looking maintained.
When a sprinkler repair does not feel clear or the problem returns after a replacement, do not keep swapping parts. A qualified irrigation technician can diagnose the full zone, make the repair correctly, and help your system support a healthy landscape through Colorado's changing seasons.