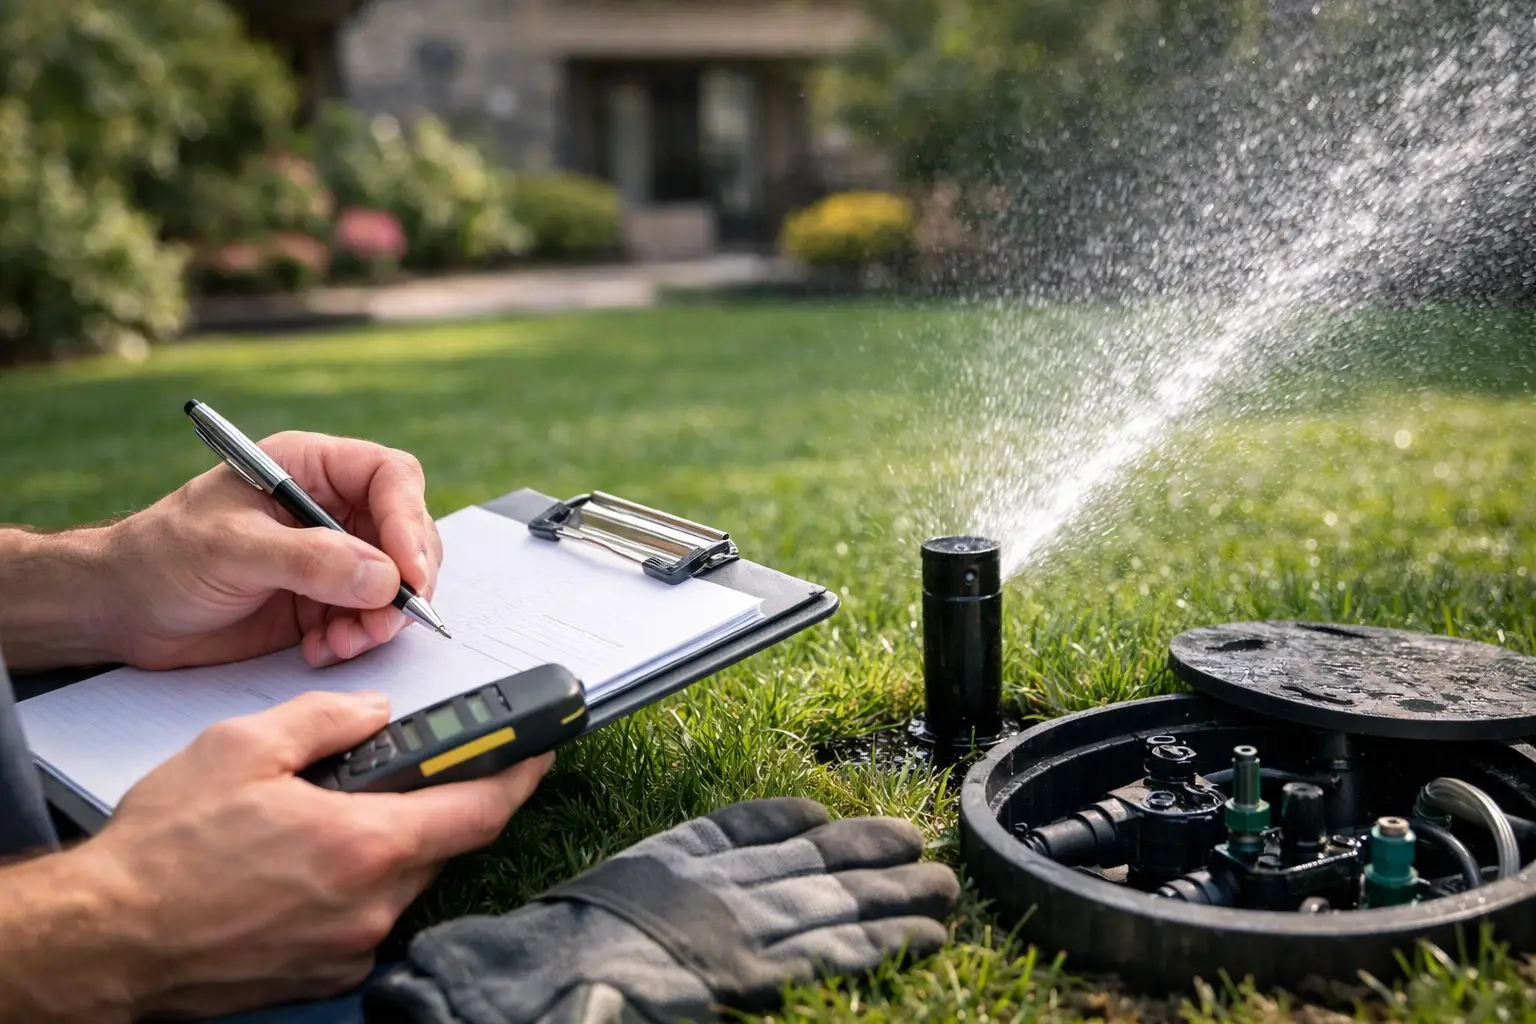
Spring irrigation problems usually start before the first dry week. A zone that will not come on, a valve box full of water, or a spray pattern aimed at the sidewalk often traces back to a rushed seasonal start-up. A solid sprinkler startup checklist guide helps homeowners catch those issues early, before landscape stress and water waste become part of the season.
In Colorado, spring start-up is not just a matter of turning the water back on. Freeze-thaw cycles, shifting soil, and winter wear can affect heads, fittings, valves, and controllers in ways that are easy to miss at first glance. If the goal is a healthy lawn and efficient irrigation, the start-up process needs to be deliberate.
Why a sprinkler startup checklist guide matters
A sprinkler system is only as reliable as its spring opening. When a system is pressurized too quickly or run without inspection, weak points tend to show up fast. Cracked fittings can leak underground, clogged nozzles can distort coverage, and damaged heads can leave dry spots that are not obvious until turf starts thinning.
The bigger issue is that small irrigation faults rarely stay small. A minor leak can waste a surprising amount of water over a few weeks. Uneven coverage can push homeowners to increase run times when the real problem is mechanical. That trade-off matters because more watering does not fix poor distribution - it often adds runoff and oversaturation.
A checklist brings order to the process. It helps confirm that water is moving correctly, components are responding as they should, and the system is set for the actual conditions of the season rather than last year’s settings.
Before you pressurize the system
The first step in any sprinkler startup checklist guide is a basic visual review. This should happen before the main irrigation supply is fully opened. Look over the controller, exposed piping, backflow assembly, and valve boxes if they are accessible. The goal is not to perform a full repair diagnosis at this stage. It is to spot obvious damage and avoid forcing water through a compromised system.
Check for cracked components, missing caps, broken heads, displaced spray bodies, and signs that a box or line may have shifted during winter. In areas like Parker and surrounding communities, ground movement and late freezes can create enough stress to turn a previously sound connection into a seasonal failure point.
If the backflow assembly was winterized and shut down properly, it still deserves a close inspection before activation. Fittings, test cocks, and shutoff valves should be in the correct position and free from visible damage. This is one of those areas where careful handling matters. Backflow components are essential to system safety, and forcing a stuck valve can create a larger service issue.
Pressurize slowly and watch for warning signs
One of the most common start-up mistakes is opening the water supply too quickly. That sudden rush of pressure can damage internal components or worsen existing weaknesses in the line. Water should be introduced gradually so the system can fill under controlled pressure.
As the system begins to pressurize, listen and watch. Hissing, bubbling, pooling water, or a valve box filling unexpectedly can all point to leaks or failed connections. Some issues are visible immediately, while others only appear once a specific zone is activated.
If anything looks unstable, stop there. Continuing to run a system with a clear leak or pressure irregularity can turn a manageable repair into a larger interruption.
Run each zone one at a time
This is where the checklist becomes practical. Each irrigation zone should be run individually and observed long enough to confirm proper performance. A quick glance is not enough. You want to see whether every head rises fully, rotates or sprays correctly, and shuts off cleanly when the zone ends.
Check sprinkler heads for alignment and damage
Heads take a lot of abuse over the course of a year. Mowers, foot traffic, soil settlement, and winter expansion can all shift their position. A head that is tilted, sunken, or spraying into a shrub bed instead of turf can quietly reduce system efficiency every time it runs.
Make sure heads are standing upright and clearing the surrounding grass. Look for cracked casings, damaged nozzles, and poor arc adjustment. If one area seems excessively wet while another stays dry, the issue may be coverage overlap rather than watering duration.
Look at the spray pattern, not just the spray head
A working head is not always a properly performing head. The pattern should be even, directed to the intended area, and free from obvious misting or blockage. Fine mist can indicate pressure issues, while uneven fan shapes can suggest clogging or nozzle wear.
This is where experience matters. Some performance issues are mechanical, while others point to pressure imbalance or zone design limitations. The right response depends on the cause. Adjusting run times without addressing the root problem usually leads to wasted water and inconsistent plant health.
Confirm valves and solenoids are responding correctly
When a zone activates late, does not fully shut down, or continues to weep after its cycle, the issue may be in the valve assembly rather than at the head. Valve problems are easy to overlook because they are less visible, but they directly affect reliability.
A valve that sticks or fails to close fully can keep a zone partially active and create pooling, erosion, or long-term overwatering. Spring start-up is the right time to identify that behavior before the system moves into regular operation.
Review the controller settings
A sprinkler startup checklist guide should always include the controller. Even if the field components are in good shape, poor programming can undermine the whole system.
Start by checking the date, time, and watering schedule. Power loss over winter or a dead backup battery can reset programming. Then review start times, zone durations, and watering days. Spring conditions rarely call for peak summer settings, so this is a good time to scale irrigation to actual demand.
For homes with smart controllers, confirm the system is communicating correctly and using appropriate seasonal adjustments. Smart technology can improve efficiency, but only if the inputs and settings match site conditions. If a sensor is offline or the schedule was never updated after installation, the controller may not be helping as much as expected.
Watch for efficiency problems that look harmless
Some irrigation issues do not look urgent, but they still affect performance. Overspray onto concrete, minor runoff at the bottom of a slope, and low-head drainage after a cycle may seem easy to ignore. Over time, though, they can waste water, stain hardscape, and weaken root development.
Spring is the best time to correct these issues because the lawn is just entering active growth. Fine-tuning now gives the landscape a better chance to establish evenly as temperatures rise.
In many residential systems, efficiency gains come from small corrections rather than major changes. A nozzle swap, arc adjustment, head raise, or schedule revision can make a noticeable difference when applied across the full property.
When professional start-up is the better option
Not every system needs the same level of attention. A newer system with stable components may only need light adjustment, while an older system with a history of leaks or uneven coverage may need a more complete inspection. That is why spring service is not one-size-fits-all.
Professional start-up is especially valuable when there are signs of pressure loss, controller issues, damaged backflow components, recurring dry spots, or zones that did not perform consistently last season. The benefit is not just convenience. It is knowing the system has been evaluated as an irrigation system, not just turned back on.
For homeowners who want dependable seasonal support, specialized irrigation service can help prevent avoidable damage and improve water management across the entire property. That is particularly relevant in communities where lawn appearance, landscape health, and responsible water use all matter.
A practical sprinkler startup checklist guide for homeowners
If you want a straightforward way to think about spring activation, keep the sequence simple. Inspect visible components before pressurizing, introduce water slowly, run each zone individually, evaluate heads and spray patterns, check for valve issues, and update the controller for spring conditions. If anything seems off, address the cause before settling into a regular watering schedule.
A good start-up sets the tone for the rest of the season. It protects the landscape, reduces waste, and gives the system a better chance to perform the way it was intended. If your irrigation system has gone through a Colorado winter, a careful spring opening is not extra effort - it is basic system care.
The best time to fix irrigation issues is when the season is just beginning and the lawn has not paid the price for them yet.