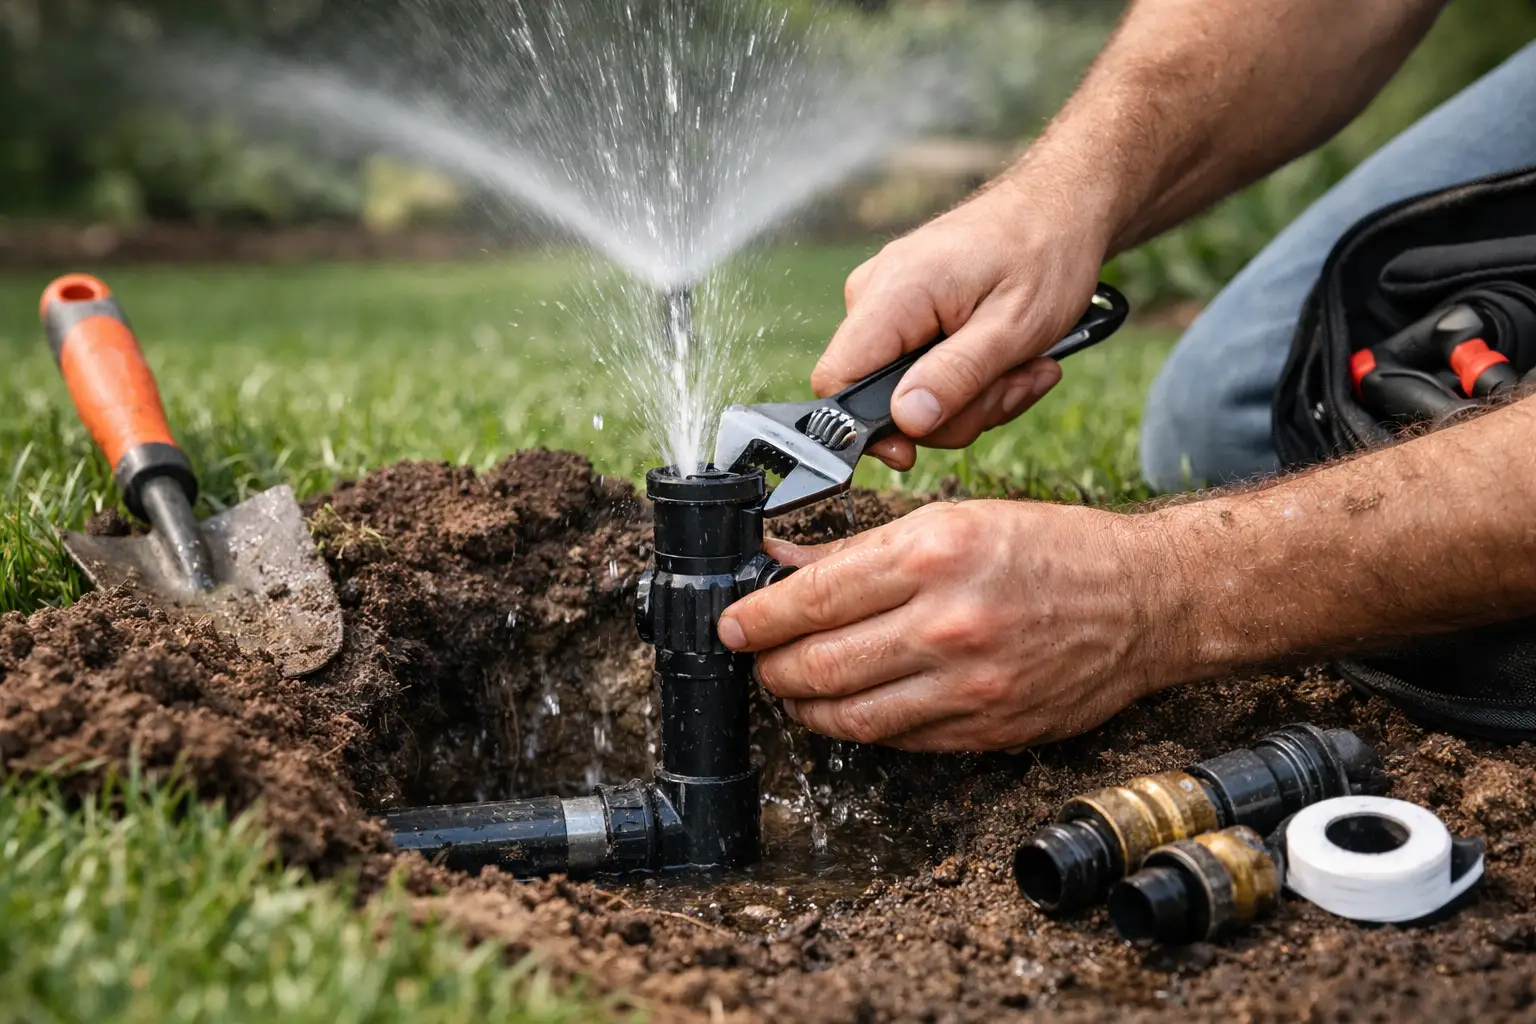
A sprinkler leak usually shows up the same way - one area of the lawn stays soggy, a head keeps bubbling after the zone shuts off, or your water use suddenly climbs without a clear reason. If you are searching for how to repair sprinkler leak issues, the first step is not grabbing a shovel. It is finding the exact type of leak, because a dripping head, cracked lateral line, and leaking valve all need different repairs.
For homeowners who care about landscape health and water efficiency, that distinction matters. A rushed fix can leave the real problem underground, wasting water and setting up a larger repair later. A careful diagnosis saves time, protects turf, and helps your irrigation system run the way it should.
How to repair sprinkler leak issues the right way
Not every sprinkler leak is obvious, and not every wet spot points to broken pipe. Some leaks happen only while a zone is running. Others continue after the system turns off because a valve is not closing fully or a low head is draining leftover water from the line.
That is why a proper inspection starts with two simple questions. Does the leak happen during operation, after shutdown, or all the time? And is the water coming from a sprinkler head, the soil around it, or a valve box? Those details narrow the repair quickly.
If the leak appears only when the zone is on, the issue is often a damaged head, a cracked fitting, or a split lateral line. If water continues to seep after the cycle ends, you may be dealing with head drainage, debris in the valve, or worn internal valve components. A constant leak, even with the controller off, usually points to a valve problem or a pressurized line issue.
Start with the sprinkler head
The head is the most common failure point, and it is usually the easiest place to begin. Mowers, foot traffic, settling soil, and winter conditions can crack the body, loosen the seal, or snap the riser below grade.
Turn on the affected zone and watch the head closely. If water sprays from the side of the body, pools around the base, or sputters unevenly while nearby heads look normal, the head assembly may be damaged. Shut the zone off, clear soil and grass around the head, and expose the fitting below it carefully so dirt does not fall into the line.
Unscrew the sprinkler head and inspect the threads, riser, and base connection. If the head itself is cracked, replace it with a matching model or a compatible head with the same spray pattern and precipitation characteristics. If the riser is broken, replace that section and re-seat the head at the proper grade so it sits flush with the lawn.
This is one of the cleaner repairs, but alignment matters. A head installed too high becomes vulnerable to impact. Too low, and it traps dirt and affects coverage. If the area has settled significantly, the better repair may include rebuilding the head connection and stabilizing the surrounding grade.
Check for a cracked pipe or fitting underground
If the ground around the head is saturated or water is surfacing a few inches away, the leak may be below the head connection. In many systems, lateral lines and fittings develop cracks from root pressure, shifting soil, or seasonal freeze damage.
To confirm it, run the zone briefly and watch where the water rises first. Then shut the system off and dig carefully around that point. Use a hand trowel near the pipe to avoid making the damage worse. Once exposed, inspect the pipe and fittings for hairline cracks, split elbows, or loose threaded connections.
Repair depends on the pipe type and the amount of damaged material. A cracked fitting should be replaced, not patched. A split section of pipe should be cut cleanly and repaired with the correct couplings or repair fittings designed for irrigation use. The key is making a secure, straight connection without stressing the line.
This is where DIY repairs can go sideways. If the cut is uneven, the pipe is not fully seated, or the wrong fitting is used, the leak may return under pressure. On residential properties with mature landscaping, that risk is often reason enough to have the repair handled professionally.
Do not overlook the valve box
When a zone will not shut off cleanly or a valve box stays wet, the leak may not be in the lawn at all. Control valves are a frequent source of water loss, and the symptoms are easy to misread if you focus only on the heads.
Open the valve box and look for standing water, dripping around the bonnet, or continuous flow downstream when the zone should be off. Sometimes debris prevents the diaphragm from sealing. Other times, internal components have worn down enough that the valve can no longer close reliably.
In some cases, disassembling and cleaning the valve solves the problem. In others, the diaphragm or solenoid needs replacement. If the valve body itself is cracked or the box is crowded with older components, a full valve rebuild is often the more dependable solution.
Because valve assemblies affect pressure, zone control, and overall system reliability, this is usually where specialized irrigation service pays off. A proper repair restores shutoff performance and helps prevent recurring leaks that slowly waste water over time.
When the leak is actually low-head drainage
One of the most misunderstood sprinkler leaks is not a true leak at all. If the lowest sprinkler head on a slope drips or drains for a short time after the zone turns off, that can simply be water emptying from the line.
That is called low-head drainage. It is common in systems with elevation change, and while it can look like a valve failure, the pattern is different. The water usually stops after the line empties. If the flow continues much longer, then a leaking valve becomes more likely.
The right fix depends on the cause. Sometimes a check-valve sprinkler head is enough to hold water in the line and stop the drainage. Sometimes the issue is compounded by a valve that is not closing fully. A good diagnosis matters here because replacing a valve when the real need is a check head does not solve the problem efficiently.
How to protect the lawn while making the repair
A sprinkler repair should solve the leak without creating a second problem in the turf. That sounds obvious, but it is one reason irrigation specialists approach excavation and restoration carefully.
Cut around the sod neatly if you need to lift turf. Keep removed soil on a tarp so gravel, mulch, and clay do not mix into the lawn. Backfill in layers and tamp lightly to reduce future settling around the head or pipe. Once the repair is complete, run the zone again before closing everything up. That final test confirms coverage, checks for seepage, and makes sure the repaired component is not under strain.
In Parker and nearby communities, soil movement and seasonal weather shifts can make this step especially important. A repair that technically stops the leak but leaves the head crooked or the soil loose often leads to poor spray performance later.
When to stop troubleshooting and call for sprinkler repair
Some leaks are straightforward. Others are tied to pressure problems, wiring issues at the valve, aging components across multiple zones, or hidden damage that does not reveal itself in one quick inspection. If you have repaired the visible issue and the area still stays wet, there is probably more happening than a single broken part.
Professional irrigation service is also the better choice when the leak is near tree roots, hardscape, valve manifolds, or established planting beds. In those areas, accurate repair matters as much as speed. The goal is not just getting water to stop showing up. It is restoring system performance without creating uneven coverage, runoff, or long-term reliability issues.
For homeowners who expect their landscape systems to work quietly and efficiently, that level of repair is worth protecting. Companies like Irrivive Sprinklers focus on exactly that kind of service - identifying the real source of the leak, correcting it cleanly, and making sure the rest of the system is operating as it should.
A sprinkler leak rarely fixes itself, and it rarely stays small for long. The sooner the issue is diagnosed correctly, the easier it is to protect your lawn, reduce water waste, and keep your irrigation system working the way a well-managed property deserves.